Mark writes: I’m using Mail on a two-year-old Mac with with latest OS. Emails from an important business resource automatically go to junk and I cannot “unjunk” them. How can I stop this?
Hi Mark! Yep, the Mac’s Mail app can sometimes be a little too aggressive when it comes to marking email as “junk.”
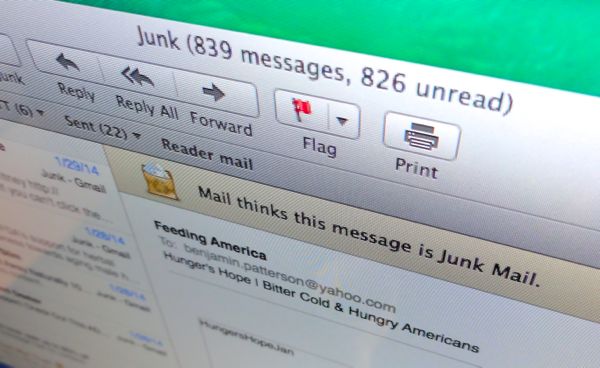
The good news, though, is that you can tweak Mail’s settings to make it easier to review marked-as-junk messages before they’re tossed in the junk bin.
Now, keep in mind that it might not be the Mac Mail app that’s junking important email messages. Gmail, for example, applies its own “Spam” filter before your messages arrive in the Mail client.
So my first suggestion would be to log into the web version of whichever email service you’re using (Gmail, Yahoo, Outlook, etc.) and make sure it’s not the culprit.
If it is (say) Gmail that’s junking the wrong messages, just go into Gmail’s Spam folder, select the message that shouldn’t be marked as junk, then click the Not Spam button. Adding the sender to Gmail’s address is another good way to keep the message out of the Spam folder.

You can tweak Mail’s settings to make it easier to review marked-as-junk messages before they’re tossed in the junk bin.
OK, so let’s say you’ve determined that Mail is, in fact, the cause of your marked-as-junk woes. Now what?
Well, the quickest way to keep Mail from junking a specific non-spam message is by clicking the “Not Spam” button with the message and adding the sender to the Mac’s Contacts app. Just click the address in the “To:” field of a junked email, then select “Add to Contacts.”
Of course, the “Add to Contacts” trick won’t work all that well if you don’t even realize an important email message has been junked.
Let’s dive into Mail’s junk settings for more options.
- Launch the Mail client, click the Mail menu in the top-left corner of the screen, select Preferences, then click the Junk Mail tab.
- The first option is to turn off Mail’s junk filtering altogether—although you may end up wishing you hadn’t. To do so, just uncheck the “Enable junk mail filtering” setting.
- A better idea might be to let Mail continue marking suspected spam messages as junk, but to leave those messages in your inbox—meaning you can review potential junk mail before it’s tossed permanently. Under the “When junk mail arrives” section, select the “Mark as junk mail, but leave it in my Inbox” setting.
- You can also roll up your sleeves and micromanage how Mail decides what’s junk, and what it does with junked messages. Click the “Perform custom actions” option under the “When junk mail arrives” tab, then click the Advanced button. On the following screen, you can review and tweak Mail’s junk filtering rules, from whether the sender of a message is in the Contacts app to which folder junk messages are sent to after they’re tagged.
My suggestion for Mail’s junk settings? Stick with the “Mark as junk mail, but leave it in my Inbox” under you start feeling comfortable with how Mail is marking suspected spam messages. Once you’re satisfied, go back and select the “Move [junk messages] to the Junk mailbox” setting again.
Hope that helps, Mark. Still have questions? Let me know!