Recently, I wrote a tip about how to set your iPhone to alert you whenever you get email from “VIPs”—friends, loved-ones, colleagues, and other special someones you’ve nominated for very-important status.
Not bad, readers said, but is there any way to do something similar on a Mac? Good question.

Want to get email notifications for only your VIPs? You can do it by tweaking a single Mail setting.
The answer: Yes, you can. All you have to do is teach the Mac’s Mail app a few new tricks.
- The first step is to mark some of your contacts as VIPs. You can do it on your iPhone by following the steps in this tip. On a Mac, just open a message in Mail and click the little star next to the sender’s name in the “To:” field.
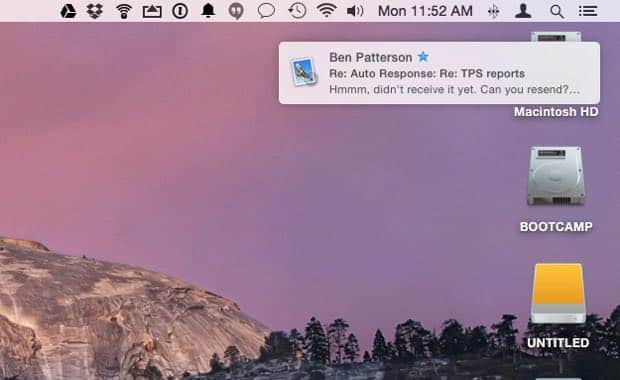
- Want to get email notifications for only your VIPs? Click the Mail menu (it’s in the top-left corner of the screen, provided the Mail app is running and active), select Preferences, click the General tab, then select “VIPs” in the “New Mail Notifications” setting. You can manage how Mail notifications work in general (for instance, whether they appear as banners that come and go or alerts that must be manually dismissed) by clicking the Apple menu and selecting System Preferences, Notifications, then clicking Mail.

Want notifications for all your new email messages, plus special alerts for VIP email? All you have to do is create a new Mail rule.
OK, but what if you want notifications for all your new email messages, plus special alerts for VIP email? If so, try this…
- Click the Mail menu, select Preferences, and click the Rules tab. From here, you can see and manage all the various rules that Mail follows when it comes to your messages—everything from mail filters and color-coding to automated replies and marking messages as “read” or “unread,” all based on the sender, the recipient, the subject line, and other factors.
- Let’s go ahead and create a new rule for VIPs. Click the Add Rule button, then label the rule in the “Description” field—say, “VIPs.” In the next line—the one that reads “If [any or all] of the following conditions are met,” make sure “any” is selected.
- Time to set a condition. Click the “Any recipient” drop-down menu and select “Sender is VIP.”
- Now, let’s create an action for Mail to perform once the condition is met. Under “Perform the following actions,” click the menu marked “Move Message” and select, say, “Play Sound,” then pick a new beep, ping, or buzz to sound off whenever you get an email from a VIP.
- Want something else to happen when a VIP message hits your inbox? Click the “+” button to the right of your “Play Sound” action to create a new action. For example, you could click the first pull-down menu and select “Bounce Icon in Dock” to make the Mail icon bounce whenever a VIP email arrives. You could also select “Set Color of Message” to make VIP messages stand out in your inbox, or “Mark as Flagged” to automatically flag emails from your inner circle. You can even set Mail to automatically forward VIP messages or reply with a pre-written response.
- All set? Then click OK.
You’ll get a prompt asking if you want to apply your new rule to existing messages. You can click Apply if you like, but keep in mind that if you set an action like “Reply to message,” Mail will start replying to all the VIP messages sitting in your inbox. Since the idea here is to alert you to new VIP messages, I’d suggest click the “Don’t Apply” button.
Want to edit or delete your new VIP rule? Just retrace your steps (Click Mail, Preferences, Rules), select the rule you just created, then click Edit, Duplicate, or Remove. You can also deactivate a rule without deleting it by unchecking its box in the “Active” column.
Bonus tip
Among many other possibilities, you can also set Mail to notify you of replies to an specific email thread, similar to this recent iOS tip.
Just create a new rule, select “Subject” and “contains” as the first condition of the rule, then enter a subject line. Mail will automatically fill in the subject of the message that’s currently selected.
Then, for the action, you can set up an alert like the one we just created for VIPs, or you can create your own custom action—anything you like.