From snapping screenshots to signing PDFs with your fingertip, your iMac, MacBook or Mac Mini has scores of useful—and in some cases, well hidden—tricks up its sleeves. Read on for 10 gotta-know tips that every MacOS user should have under their belt.
Take a screenshot
Want a snap a picture of whatever’s happening on your Mac desktop? Here’s the fastest, easiest way to do it: press and hold COMMAND + SHIFT + 3.
You can take a screenshot of just a portion of your Mac’s screen; press and hold Shift, Command, and the number 4 key, then click and drag.
To snap an image of just a portion of your desktop, press and hold COMMAND + SHIFT + 4, then drag the crosshairs across the part of the screen you’d like to capture.
As soon as you release the keys, the image file containing your screenshot should appear on the desktop, complete with a date and timestamp.
Related: 5 super-easy ways to take a screenshot on your Mac
Take a quick look at a file
You don’t have to go to the trouble of launching a program to sneak a quick peek at an image, a Word document, or another file on your Mac’s hard drive.

Just select a file or a group of files, then press the space bar to enable the Mac’s “quick look” feature.
Instead, try this: just select the file with your mouse, then press the space bar.
When you do, a read-only preview of the file will appear on your Mac’s desktop, perfect for taking a quick look (and indeed, the official name for this Mac feature is “Quick Look”) at, say, an image file without having to launch the Preview or Photos app.
Move or hide the dock
Want to move your Mac’s dock—you know, the shaded area at the bottom of the screen, where all your favorite apps sit—to the side, or hide it altogether? Easy.

You can move the Mac dock to the left or right side of the screen.
Just click the Apple menu in the top-left corner of the screen, select System Preferences, then Dock. To move the dock from the bottom to the side of the screen, just select the “Left” or “Right” options next to the “Position on screen” setting.
You can also set the dock to hide itself until you really need it by enabling the “Automatically hide and show the Dock” setting. Once you do, the dock will slide off the desktop; to get it back, move your mouse near the bottom of the screen (or toward the side, if you’ve moved the dock to the side of your desktop).
Related: 8 ways to make the Mac desktop dock work for you
Make the mouse pointer bigger
Finding an itty-bitty mouse pointer on a big-screen iMac can be like finding a needle in a haystack. Luckily, there’s an easy way to boost the size of the mouse pointer.
You can easily boost the size of the Mac’s mouse pointer from the Accessibility settings panel.
Click the Apple menu in the top-left corner of the screen, select System Preferences, click Accessibility, then click Display in the left column. See the “Cursor size” setting? Drag the slider until you can see the mouse pointer without having to squint.
Related: 2 easy ways to spot a teeny-tiny mouse pointer
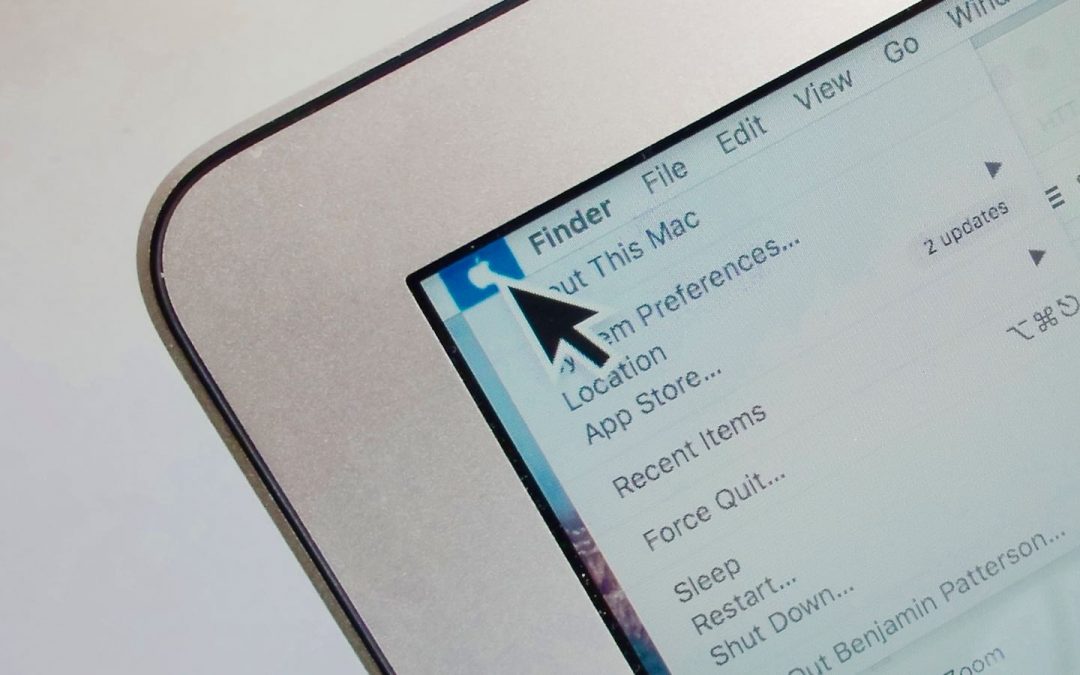
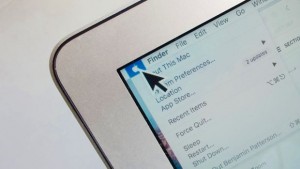
Put a missing hard drive icon back on the desktop
So, one day you boot up your Mac only to notice something’s missing from your desktop: your hard drive icon. Where’d it run off to?
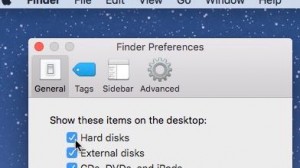
No “Macintosh HD” icon on your Mac desktop? Make sure the “Hard disks” box is checked in the Finder Preferences window.
Beats me why the Mac’s hard drive icon occasional makes a break for it. The good news is that you can get it back on your desktop in a snap.
Click the bare desktop to make the Finder menu option appear, open the Finder menu, select Preferences, then check the “Hard disks” option under the “Show these items on the desktop” setting.
Turn the corners of the screen into “hot” corners
Don’t want to have to remember an obscure keyboard combo or a multi-finger gesture to just, say, turn on your Mac’s screensaver, or make all your open windows fly off the desktop?

You can select one of several options for each hot corner—anything from revealing your desktop to activating Mission Control.
Luckily, there’s an easy way to start your screensaver, switch desktops, view your Mac apps in Launchpad and more with a simple flick of the mouse. All you have to do is enable the Mac’s “hot corners” feature, which triggers specific actions whenever you move the mouse into a corner of the screen.
To get started, open the Apple menu, select System Preferences, click Desktop & Screen Saver, click the Screen Saver tab, then click the Hot Corners button in the bottom-right corner.
Once you do, a pop-up will appear showing all the “hot corner” options for each corner of the screen. Click one of the four pull-down menus and pick an option—anything from Start Screen Saver to Mission Control (to see all your virtual desktops), Desktop, or Put Display to Sleep. To keep a corner from going “hot,” just pick the “-” option.
Choose an easier way to right-click
There’s more than one way to right-click on a Mac’s trackpad. There’s the tried-and-true way—press and hold CONTROL, then click—but you can also tap the trackpad with two fingers, tap the bottom-right corner of the trackpad, or tap the bottom-left corner.
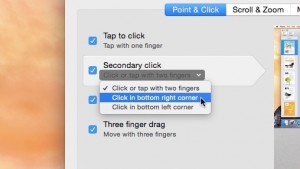
You can visit your Mac’s trackpad settings to unlock a couple of additional right-click options.
To pick your favorite way to right-click, open the Apple menu in the top-left corner of the screen, select System Preferences, click the Trackpad button, then make sure the Point & Click tab is selected. Now, under the “Secondary click” setting, take your pick.
Related: 4 ways to right-click on a Mac trackpad
Get your missing scroll bars back
Wondering what happened to the scroll bars on your Mac windows? They disappeared a few years back, and sadly they appear to be gone for good … well, unless you change this MacOS setting.

Nope, you can’t get the Mac’s jumbo-sized scroll bars back, but at least you can keep the new, skinny-mini scroll bars visible at all times.
Click the Apple menu in the top-left corner of the screen, select System Preferences, click General, then select Always under the “Show scroll bars” section.
Yes, your restored scroll bars will still look anemic compared to their previous design, but hey—it’s better than nothing.
Quit a frozen program
If you’re staring at a spinning beach ball because one of your Mac apps has locked up, there’s an easy way to get back on track without restarting your entire system.

You can force a frozen Mac program to quit in just a few clicks.
Click the Apple menu in the top-left corner of the screen, select Force Quit, click on the program that’s misbehaving (it’ll probably be flagged as “Not Responding”), then click the Force Quit button.
The frozen program should promptly quit; after that, you can give it another try or pick a new app to launch.
Related: How to force a frozen Windows or Mac program to quit
Sign a PDF with your fingertip
Need to sign a PDF? No need to print it out, sign it and scan it. Instead, you can use your Mac’s trackpad to trace your signature with your fingertip, perfect for signing a PDF without having to put pen to paper.

Just click on a saved signature to paste it into a PDF.
Launch the Preview app (look in the Applications folder, or search for it with Spotlight), click the Tools menu, select Annotate, Signature, click Manage Signatures, then Create Signature.
A new window will appear with two tabs at the top: Trackpad (for tracing your signature with your Mac’s trackpad) and Camera (for snapping a photo of your signature). Go ahead and select the Trackpad tab (here’s how to use the camera instead), then click the “Click Here to Begin” button. Just trace your signature on the trackpad, press any key when you’re done. If you’re satisfied with the result, click the Done button.
To use your saved signature, open a PDF in Preview, open the Tools menu, select Annotate, Signatures, pick a saved signature from the menu, then drag it wherever you’d like. You can also use the little blue handles to resize the signature if needed.