Unlike Apple’s new iTunes Match service, Google Music can’t scan the songs on your hard drive and “match” then with tracks from the new Google music store, which means those with massive digital music collections could find themselves uploading their tunes for days on end.
Update [3/2012]: Google Music has now been folded into the new Google Play service, but all the basic functionality of Google Music remains more or less the same.

Once you've uploaded your tunes to Google Music, you'll be able to listen to them on your Android phone or tablet.
But while iTunes Match costs $25 a year, storing up to 20,000 songs in your Google Music locker won’t cost you a dime.
Ready to pump up the volume with Google Music? Here’s how to get started.
- Visit Google Music and sign in with your Google account, or create a new Google ID.
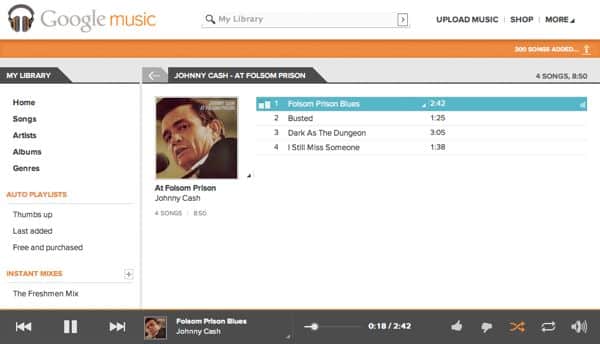
- Once you’re signed in, you’ll find a selection of free tracks already in your Google Music library. Select a song, then click the “Play” button in the bottom-left corner of your web browser to start listening. Easy, right?
- Now, time to upload some tunes. Click the “Upload Music” link in the top-right corner of the screen, then click the blue “Download Music Manager” button. Google’s Music Manager software will work on Windows, Mac, and Linux systems.
- Once you’ve installed the Music Manager, launch the application, then sign in with your Google ID.
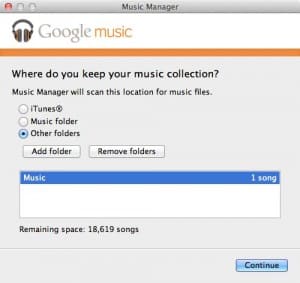
- Next, you’ll need to tell Music Manager where you store your music on your computer (and don’t worry, you can always go back and change these settings later). If you use iTunes or Windows Media Player, click the appropriate button; you’ll then get the choice of either uploading specific playlists, or everything in your collection. Keep in mind that if you have more than a few hundreds songs on your hard drive, uploading everything could take a long, long time.
- Don’t use iTunes or Windows Media Player for your digital music? Well, you could always point the Google Music Manager to your Music folder, or choose a specific folder with songs from a particular artist or album. Or, try this: create a new directory and drag in the folders of music you want synced to your Google Music account.
- Once you’ve chosen the music you’d like uploaded, Music Manager will ask if you’d like it to automatically upload new music; that’s up to you, of course (and again, you can always change your mind later).
- All set? If so, Music Manager will tally up your tunes and begin uploading them. On the Mac, you can monitor your progress by clicking the little headphone icon that appears at the top of the screen; in Windows, look in the icon tray on the bottom-right corner of your desktop.
- Now, uploading dozens, hundreds, or even thousands of songs with the Music Manager can put quite a strain on your Internet connection. To ease the pressure, click the Music Manager headphone icon, click the Advanced tab, then choose how much bandwidth you’d like to make available for uploading, ranging from “Fastest possible” to “Slowest.”
- Want to stop uploading? Go back to the “Advanced” tab in the Music Manager and click the “Sign Out” button, then sign back in when you’re ready to resume uploading. From here, you can also change your upload folders, or turn automatic uploading for new songs on or off.
- Ready to start listening? Just go to your Google Music account on the web, find an uploaded song or album you’d like to hear, and press the “Play” button again in the bottom-right corner of your browser—you know the drill.
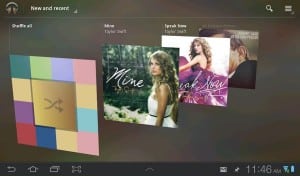
- Got an Android phone or tablet? If so, go ahead and download the Google Music app for Android and sign in; within seconds, your entire Google Music library will be available for streaming. You can also save tracks, albums, playlists, or entire genres for offline playback; just tap the menu icon in the top-right corner of the Google Music app, select “Make available offline,” and then “pin” the selections you’d like to download to your device.

The Music Manager program will check iTunes or Windows Media Player (on a Windows PC) for tracks, or you can ask it to scan a specific folder.
Have more questions about Google Music? Sure you do. Let me know!

I have a question, I uploaded all 16,000 plus songs from my external NAS drive and it took over a month. The service has been working great and automatically uploading new music as I purchase it from itunes. My question is that for some unknown reason my NAS device changed it’s IP address and now when I point the music manager to the new IP address but the same folder it sees all the music as new and wants to upload the entire collection again. How do I get the program to scan the folder and realize the songs are already uploaded. I don’t want to have to make a new folder for all my new music.