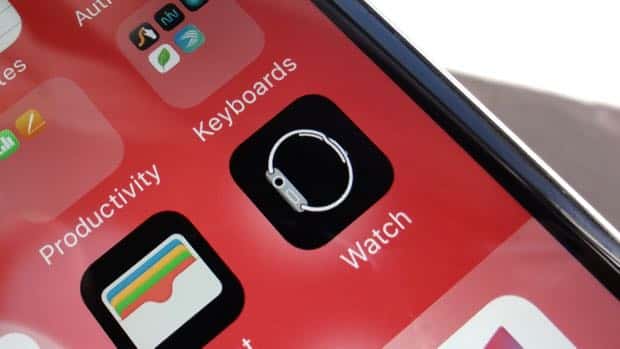
From the Apple Watch app to the new (and mostly useless) News app, your iPhone or iPad is getting more and more cluttered with Apple apps that you can’t delete, even if you want to.
Why Apple insists on making you keep the Watch app on your device even if you don’t have an Apple Watch is, well, an open question.

You can hide any Apple apps you never use in a new folder, and give it any name you wish.
The good news, though, is that you can still banish any unused Apple apps from your iOS home screen, if not off your iPhone or iPad altogether.
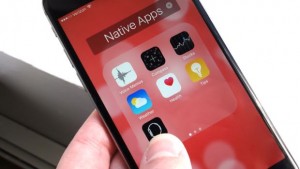
My suggestion: just hide them in a folder. On my iPhone, I created a folder called “Native Apps” and stuffed a slew of Apple apps in there, including Voice Memos, Compass, Stocks, Weather, Game Center (tried it once, never touched it again) and Watch.
Once that’s done, you can scoot the folder to a new home screen behind all your other home screens, effectively hiding all those Apple apps from view until you have a change of heart (or not).
To create a new folder, just drag one app on top of another—for example, you could drag the Weather app onto the Stocks app.

Once you’ve stuffed a folder filled with rarely used Apple apps, you can drag it onto its own home screen at the very back.
When you do, a new folder will zoom into place, complete with the apps you just dragged together. iOS will give the new folder a name—like, say, “Productivity”—but you can change that by tapping the little “x” next to the name. Now, just drag and drop any of Apple’s undeletable apps into the folder.
Once you’re done, tap and hold the folder until it starts shaking, then drag it to the right edge of the screen. As you do, the folder will slip further back behind your various home screens—and if you like, you can keep dragging it until you create a new (and, most likely, rarely visited) home screen at the very end.
No, it’s not the same as deleting the apps for good, but it’s pretty dang close.

