So, want to get “Lion” ($30) purring on your Mac? It’s a dead-easy process, although there is a fair amount of waiting around involved (think about an hour and a half, give or take).
Here’s how to get started.
- First, check with Apple to make sure your Mac is actually capable of running “Lion.” In general, any Mac sold after late 2006 should be fine. Just be sure your system has an Intel Core 2 Duo, Core i3, Core i5, or Core i7 processor; to find out, click the Apple menu in the top-left corner of the screen and select “About this Mac.” Your Mac will also need to be running on “Snow Leopard,” the version of Mac OS X before “Lion.” Again, go to “About this Mac” and make sure the “version” number is “10.6” or higher.
- Now, a couple more preliminary housekeeping items. Click the Apple menu and select “Software Update” to check for any available software patches from Apple. Then, you should back up your Mac; here’s how to do it.
- OK, ready for “Lion”? Visit Apple’s Lion product page on the web, then click the blue button that reads “View in Mac App Store.” Then (as you might guess) the Mac App Store should open automatically; click here if it doesn’t.
- Next, click the button with the $29.99 price tag on it; you’ll be prompted to enter your Apple ID information (or your credit card number, if you haven’t made any purchases in the iTunes Store yet).
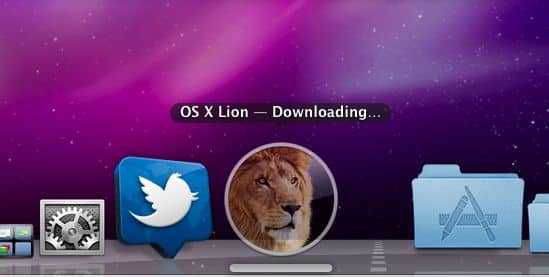
- Once you’ve entered your information, the Lion download should begin automatically. Settle in for a decent wait; on Wednesday afternoon, the first day Lion went on sale, the entire download took me about an hour.
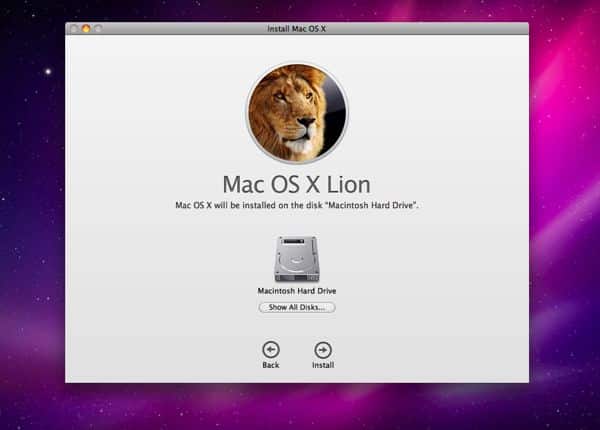
- After the download process is completed, a large window with a big, friendly lion should appear on your desktop, along with the message, “To set up the installation of Mac OS X 10.7, click Continue.” Go ahead and click the Continue button (you’ll also have to accept Apple’s Mac OS license agreement).
- Next, you’ll be asked which hard drive you’d like Lion to be installed on; select your main Mac hard drive (it’s likely the only one listed) and click “Install.”
- Now, it’s time for more waiting. An initial “preparation” process will take about three or four minutes; then, your Mac will restart, and you’re in for another half hour of cooling your heels.
- Eventually, a window will appear with a big green check mark, indicating that Lion is ready to roar on your Mac. Your system will restart, and … well, that’s it!

You'll be asked to choose the hard drive you want Lion installed on; you main Mac hard drive will likely be the only one listed.
Click here for a sneak preview of what to expect from Lion.


Trackbacks/Pingbacks